
 EN
EN


Essential Guidelines for Armpit Crutch Success
Navigating life with armpit crutches can feel overwhelming at first, but with proper knowledge and preparation, you can maintain your mobility and independence. Whether you're recovering from surgery, managing a temporary injury, or dealing with a long-term condition, understanding how to use armpit crutches correctly is crucial for your safety and comfort. This comprehensive guide will walk you through everything you need to know about using armpit crutches effectively.
Understanding Armpit Crutch Basics
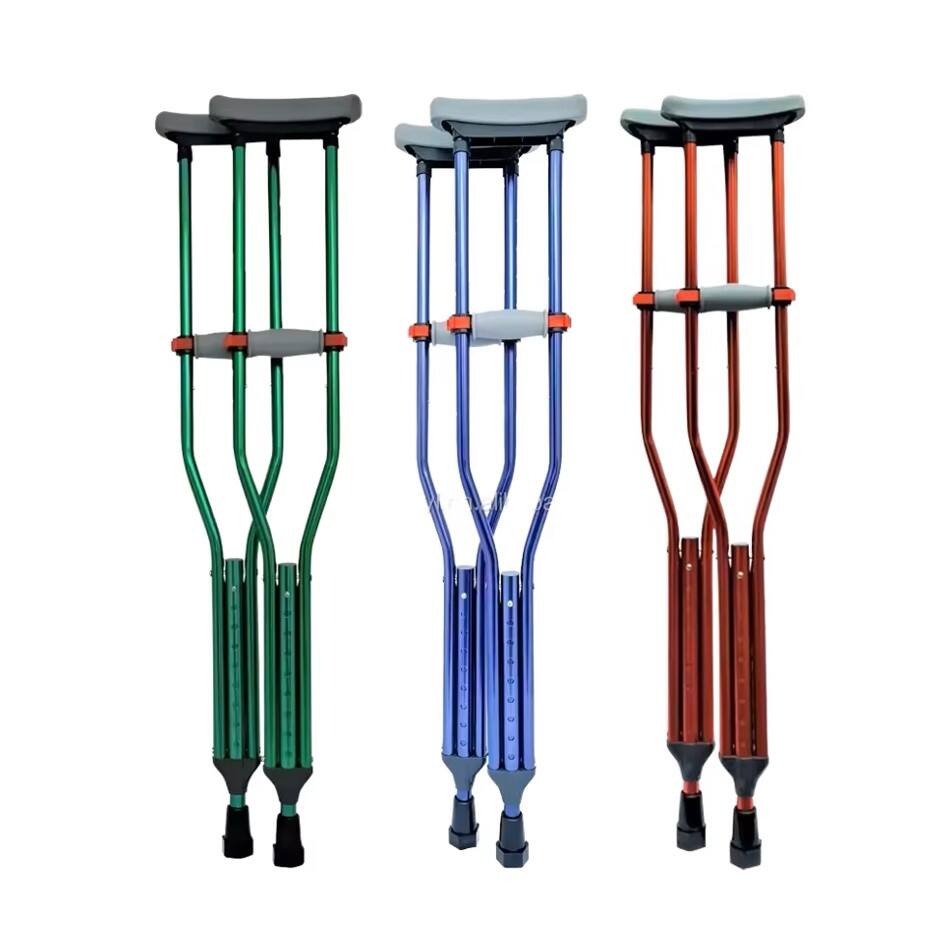
Components and Design Features
Armpit crutches, also known as axillary crutches, consist of several key components working together to provide support. The padded top portion rests against the armpit area, while the hand grip allows for weight distribution and control. The height-adjustable aluminum or wooden shaft connects to a non-slip rubber tip at the base. Quality armpit crutches feature durable materials, secure adjustment mechanisms, and ergonomic designs to prevent discomfort during extended use.
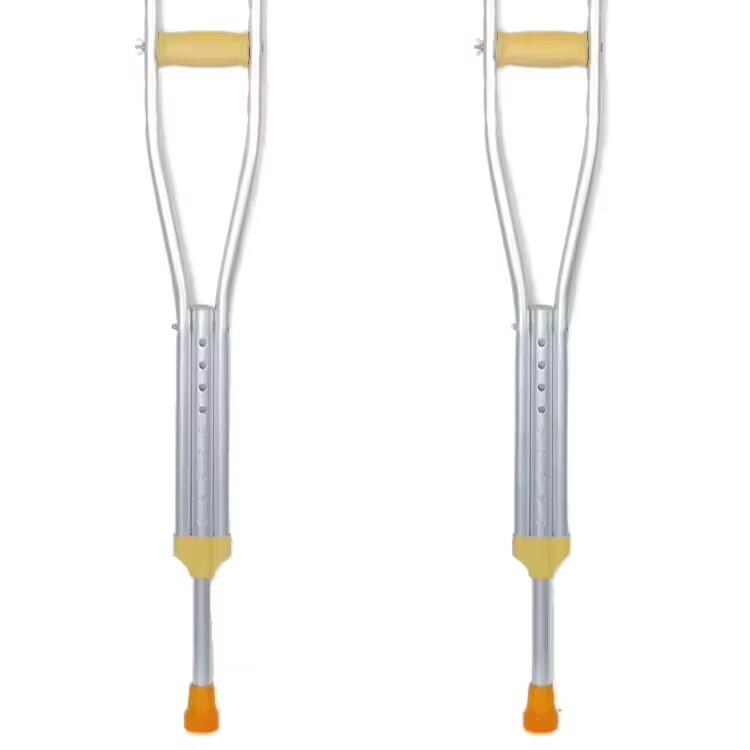
Proper Sizing and Adjustment
Getting the right fit is paramount when using armpit crutches. The top of the crutch should sit approximately two inches below your armpit when standing straight. The handgrip should be positioned so your elbow bends at a 15-30 degree angle. Incorrect sizing can lead to nerve damage, muscle strain, and poor posture. Most armpit crutches feature push-button adjustment mechanisms to help achieve the perfect height for your body.
Mastering Safe Movement Techniques
Basic Walking Pattern
Learning to walk with armpit crutches requires a specific technique. Start by placing both crutches about 12 inches in front of your feet. Lean forward slightly, pushing down through the hand grips (not the armpits) as you swing your injured leg forward. Your good leg should then step through, landing slightly ahead of the crutches. This three-point gait pattern helps maintain stability while reducing strain on your upper body.
Navigating Stairs and Obstacles
Tackling stairs requires extra attention and modified techniques. When ascending stairs, lead with your strong leg, followed by the crutches and affected leg together. For descending, place your crutches on the lower step first, followed by your affected leg, and then your strong leg. Always use handrails when available, and take your time to ensure proper positioning before each movement.
Preventing Common Complications
Avoiding Pressure-Related Issues
Extended use of armpit crutches can lead to pressure-related problems if not managed properly. Never rest your full body weight on the axillary pads, as this can compress nerves and blood vessels in your armpit area. Instead, bear weight through your hands on the grip portions. Consider using additional padding or specialized covers to reduce pressure points, and take regular breaks when possible to allow your arms and shoulders to rest.
Maintaining Upper Body Strength
Using armpit crutches requires significant upper body strength and endurance. Focus on exercises that target your shoulders, arms, and core muscles to prevent fatigue and maintain proper form. Simple exercises like seated press-ups, wall push-ups, and resistance band work can help build and maintain the necessary strength. Remember to start gradually and consult with your healthcare provider about appropriate exercises for your condition.
Essential Maintenance and Safety Checks
Regular Equipment Inspection
Keeping your armpit crutches in good condition is crucial for safety. Regularly check the rubber tips for wear and replace them when they show signs of damage or smoothing. Inspect all bolts and adjustment mechanisms to ensure they're secure. Clean the handgrips and axillary pads regularly with mild soap and water, allowing them to dry completely before use. Pay special attention to the integrity of the crutch frame, looking for any cracks or damage that could compromise stability.
Environmental Considerations
Your home environment may need modifications to accommodate safe crutch use. Remove loose rugs and electrical cords that could cause tripping. Ensure adequate lighting in all areas, particularly on stairs and in hallways. Consider installing grab bars in bathrooms and other strategic locations. Keep frequently used items within easy reach to minimize the need for challenging movements while using your crutches.
Frequently Asked Questions
How long does it typically take to adjust to using armpit crutches?
Most people begin to feel comfortable with basic movements after 2-3 days of practice. However, mastering more complex tasks like stairs may take 1-2 weeks. The adjustment period varies based on individual strength, coordination, and prior experience with mobility aids.
What are the signs that armpit crutches need replacement?
Look for visible wear on the rubber tips, loose or damaged adjustment mechanisms, bent or cracked frames, or worn-out padding. If you experience increased discomfort or instability, have your crutches professionally evaluated for potential replacement needs.
Can armpit crutches be used in wet conditions?
While armpit crutches can be used in wet conditions, extra caution is necessary. The rubber tips become less effective on wet surfaces, increasing slip risk. Consider using specialized tips designed for wet conditions, and always ensure your crutches are thoroughly dried after exposure to moisture to prevent corrosion.
How should I transport my armpit crutches in a vehicle?
Store crutches securely in a horizontal position to prevent them from becoming projectiles during sudden stops. Many vehicles can accommodate crutches across the back seat or in the trunk. Consider using straps or bungee cords to secure them in place, and always keep them easily accessible when needed.